
I use git for about 3 years. First I knew only how to use it with PhpStorm – `cmd + t` to update branch, `cmd + k` to commit and push changes. To make new branch I used menu and let the IDE do the work. It was fine until I heard about `squash`. I heard that it is often used when you contribute to someone’s repository. Maintainer of the repo often want clean history – if you want to contribute you must make pull requests with only one commit. And you may do it using squash.
It was a bit too much for me at that time: `squash`, `rebase`, `push –force`. No thanks 😉
Some time later a couple of people in my company started to use git more. They started to make squashes, rebases and so on. So if they wanted to use it I had to learn it too.
Squash
As I said before, squash is used to combine many commits to one and keep git history clean. I only use it when I work on a branch alone. I don’t like squashing commits from many people due to the loss of the author – when you do it you are assigned as the author of all changes. So if I work alone – it’s fine but if I work with others – I don’t do that.
Let’s practice
To do the squash consider such situation.
I have new branch and I make some changes, let’s say I created new file `squashing/something.smt` and push it to the repo. But then I realize that I should also create another file `squashing/something.new` so I also push it to the repo. And now when I want to merge changes to master branch I have this two commits (as shown below):
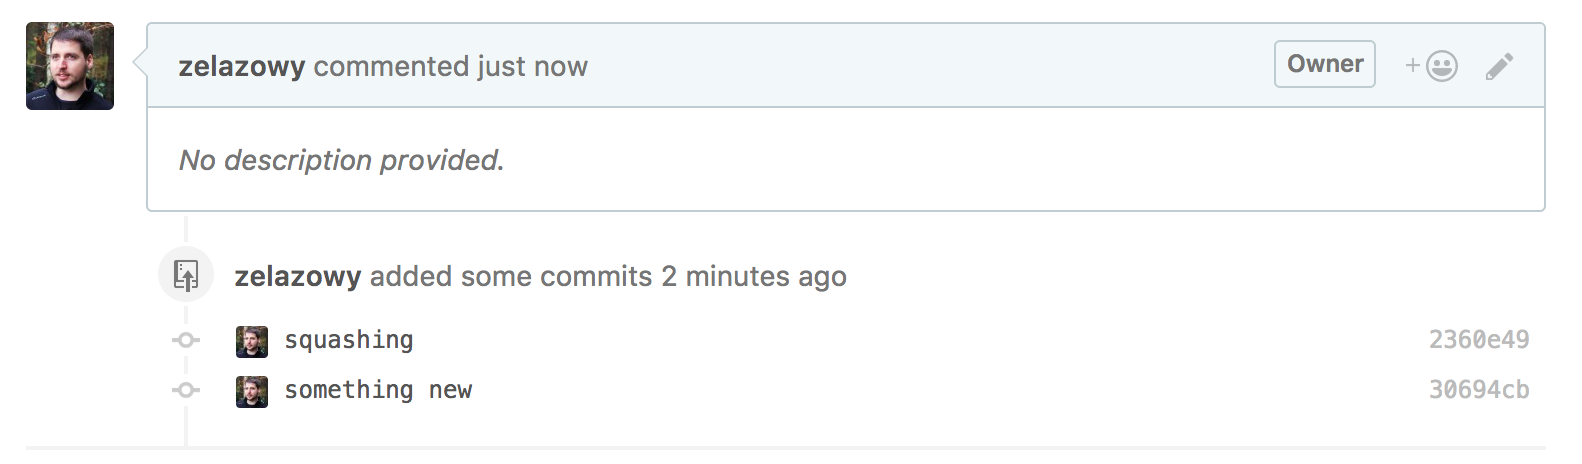
Because I was the only one committing changes I want to squash them to a single commit, just for clarity. I should do the following:
– git rebase -i HEAD~2 that means I want to rebase the branch (`rebase`) in interactive mode (`-i`) and I want to work with two last commits (`HEAD~2`)
– now in VIM I can tell git to squash second commit to the first one
pick 2360e49 squashing     => pick 2360e49 squashing
pick 30694cb something new => squash 30694cb something new
– save the changes (`:wq` in VIM) to apply it to local repo
– now you can change commit messages, default it is combined from all squashed commit messages
– save the file (`:wq` again) to apply it to the local repo again
Because commits are combined to one now the history changed and so is the commit hash. To apply it to remote repository you have to push the changes with `–force`
– git push –force origin squashing:squashing – with that command the changes will be pushed to the repository and when you refresh the page with your pull request on GitHub you’ll see only one commit to merge.
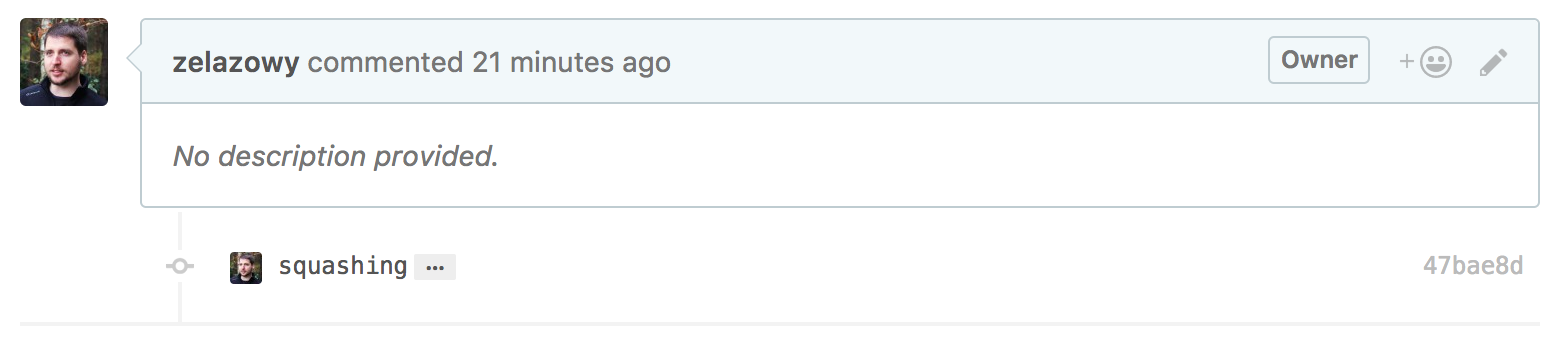
Now when you’ll be ready to merge changes it will be much cleaner with only one commit instead of two. Of course, you can squash as many commits as you want. You can do it all at once – just mark all commits you want to squash with `squash` during interactive rebase, or you can do it several times on one branch – to do so repeat all steps described here and you’ll be fine.
Summary
It’s good to know some more advanced ways to work with git. After reading this post you shouldn’t be surprised when you’ll be asked to squash commits 😉
If you want to practice git I suggest you making the new repository on Github, you can do as many public repos as you want for free. It’s a great way to learn some more without risking real damage in your real project’s repo 😉 I’ve created such repository for making this post, you can find it here.
If you want to take a deeper look at squashing, you can find more informations here.
Good luck and see you soon!
Want more tech meat?
- Few words about refactoring. And elephants
- Train of thought about technical debt
- About testing features
- Arrow functions in PHP
- Self code review?
- Handy PhpStorm shortcuts that make your life easier
- Adding a new Logger to Laravel
- [Edit] How to deploy Symfony app with Capistrano 3 on cheap OVH VPS
- How to make cool progressbar in Symfony command?
- Using PHP5.6 and PHP7.1 at the same time on OS X!
Leave a Reply