I hope, that setting up the environment goes ok 😉
In this post, I want to show you how to install Symfony on previously prepared docker container.
Installation
The simplest way to install Symfony is to use composer. Symfony has it’s own installation script, but I think that composer’s one is just fine.
If you have composer installed then it’s enough to call `composer create-project symfony/framework-standard-edition code` in your terminal (in the main directory of a docker, where `docker-composer.yml` file is placed, see PHPyths Buster: Project environment). All required packages will be downloaded and installed automatically.
If you don’t have the composer yet, install it using official instructions.
The composer might show an error saying that it could not install Symfony because `/code` directory is not empty. You should then remove everything that’s in this directory calling `rm -rf code/*`.
Initial setup
During installation, you’ll be asked to specify some parameters. It’s because Symfony contains Doctrine and Swiftmailer by default. For now, you can use default values (just press enter), I’ll return to them when the time will come 😉
The only parameter I recommend to specify is `secret`. It’ll be used to security related operations, e.g. generating CSRF tokens. Write some random letters, numbers and special characters (don’t use `%` – it has special meaning in parameters).
Nearly there…
If you take a look at the `code` directory right now you’ll see some files and directories – Symfony Framework is installed correctly!
But to really see if everything is ok, let’s try to access our app. Do `docker-compose up` to start the docker and in the web browser go to `http://evernote.local:8686/app_dev.php`.

It’s working, almost. Because I tell you to use `app_dev.php` which is index file for development you should do one more thing. `You are not allowed to access this file. Check app_dev.php for more information.` means that Symfony checks if you’re accessing this file using local environment. The check is simple – if your IP address is local (127.0.0.1, ::1 or fe80::1) it’s ok, either way, access will be denied. Because we’re using docker it’s technically not our local env, so we must disable this protection. You may think that this is not a good idea to remove this check, but we will delete this file during deploy, either way, so don’t bother.
Go to `code/web/app_dev.php` file and comment lines showed below:
if (isset($_SERVER['HTTP_CLIENT_IP'])
    || isset($_SERVER['HTTP_X_FORWARDED_FOR'])
    || !(in_array(@$_SERVER['REMOTE_ADDR'], ['127.0.0.1', 'fe80::1', '::1']) || php_sapi_name() === 'cli-server')
) {
    header('HTTP/1.0 403 Forbidden');
    exit('You are not allowed to access this file. Check '.basename(__FILE__).' for more information.');
}
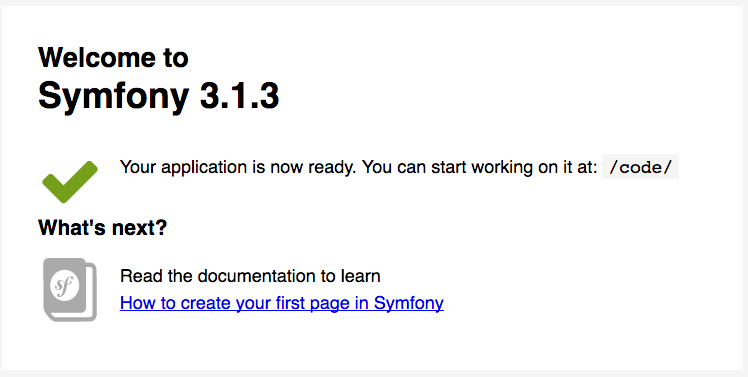
Now, try again to access `http://evernote.local:8686/app_dev.php`. It should take a while, and you shall see something like this:
First page
It’s all I wanted to show you in this post. But I want you to do some more work. You’ll create your first “Hello world” page in Symfony 🙂
It’ll be extremely simple and I won’t describe everything in details. I want you to see first results as quick as possible.
Go to `code/app/Resources/views/default/index.html.twig` file (using you favourite editor or IDE) and change it to something like this:
{% extends 'base.html.twig' %}

{% block body %}
    Hello World!
{% endblock %}
Refresh your site in the browser.
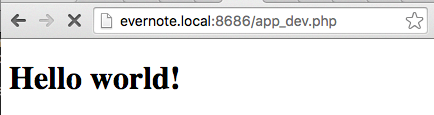
Summary
Congratulations! You have done the first step of your way to creating Symfony application 🙂
Now you can experiment a little with this page. If you’re curious check out what’s in Symfony directories. Try to not change and delete files and directories – they’ll be needed later 😉
Special repository created!
I’ve created special repository for this project, including docker configuration and Symfony code. If you want to quick start with the project – this is for you 🙂
Don’t forget to check out other PHPhyts!
- PHPyths Buster: A great string performance test! (updated)
- PHPyths Buster: Single quotes are faster than double quotes
- PHPyths Buster: Annotations
- PHPyths Buster: End of the project
- PHPyths Buster: Displaying reminders
- PHPyths Buster: Evernote SDK [update]
- PHPyths Buster: Basic application
- PHPyths Buster: Hello World!
- PHPyths Buster: Project environment
- PHPyths Buster: The Project
Thanks for publishing this article. I’d like to say something about this statement that you made:
“The simplest way to install Symfony is to use composer.”
I’m afraid it’s not. Composer is the slowest and most difficult way to install Symfony. When using a fast Internet connection, the installer takes around 10 seconds to install Symfony. When using Composer this may take up to several minutes (depending upon you installed Symfony before and the Composer’s cache is not empty).
Besides, the installer doesn’t ask you about any configuration parameter. As you said “I’ll return to them when the time will come” and that’s the idea of the installer: don’t ask for these parameter when it doesn’t make sense.
Lastly, you recommended to set the “secret” parameter. That’s another advantage of the installer: it generates a random and secure “secret” value for you without asking you anything.
Hi Javier,
Maybe “the simplest” isn’t the best statement, perhaps “simple enough” will be better. I want to show how to make first Symfony app installing as little scripts and tools as possible. For now you need only docker, composer and editor 🙂
How long take a request in your dev environment ?
About 4 seconds. For now, it’s not a problem but if it becomes one I’ll take care of it 😉 Small steps.